
Download Product Data
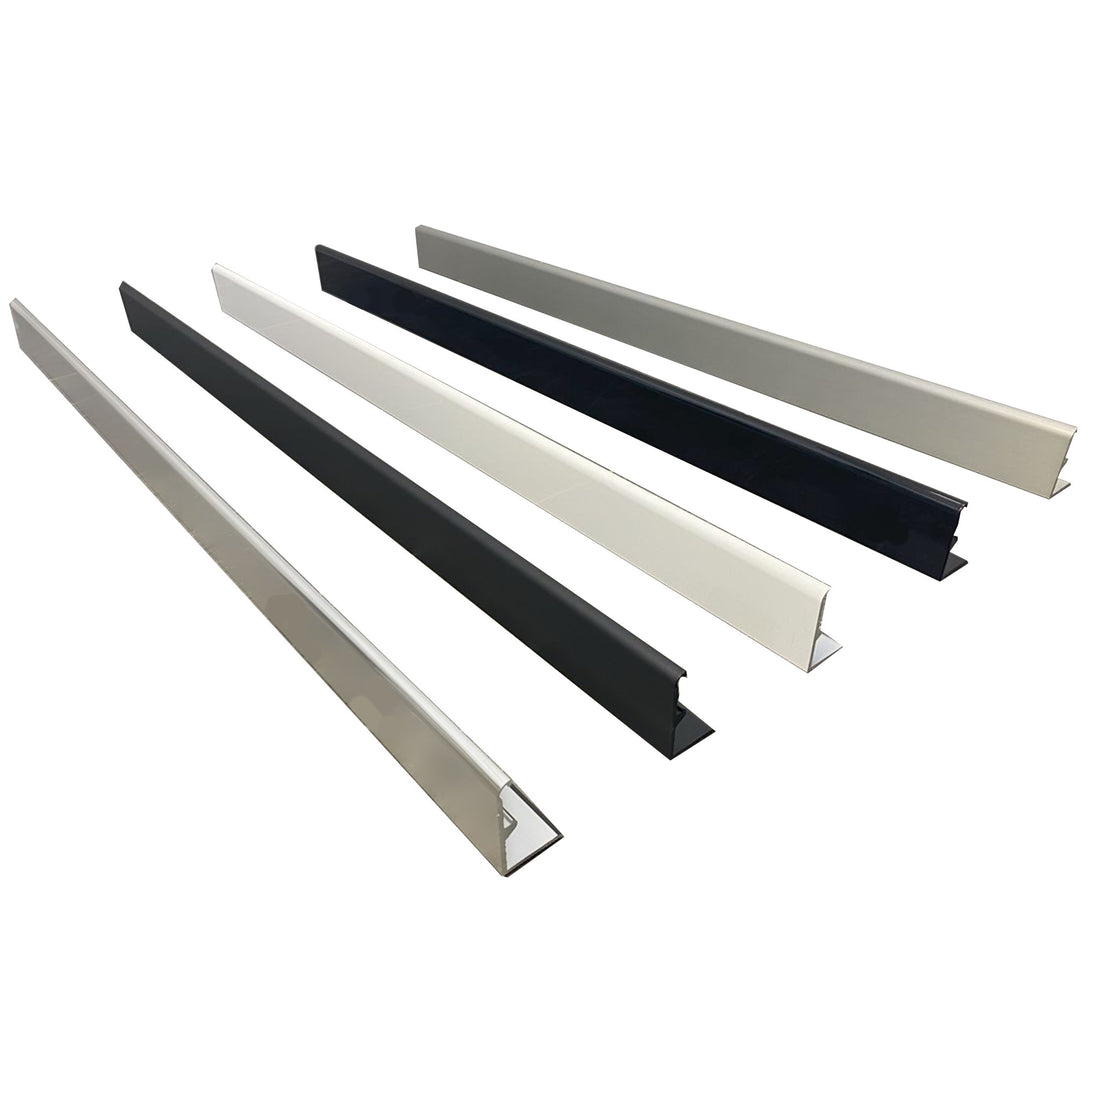
For entryways to tiled wet areas where the floor is bedded or screeded, Waterstop Doorline is a door sill extrusion that maintains a clean, consistent floor profile while establishing a secure, waterproof transition zone.
How it works
The extrusion forms a mechanical barrier at the room transition, using physical surface keys to ensure the integrity of the waterproofing system. The internal vertical leg is manufactured with a serrated surface, which provides a physical key for the liquid waterproofing membrane to bond directly and securely to the metal. Beneath the screed, a 20mm horizontal leg features a serrated base to maximize the contact area and bond strength when gluing the extrusion down to the floor substrate.
To prevent damage during the installation of surrounding screed, bedding, and tiles, the external face of the vertical leg is supplied with a protective tape layer that is peeled away after construction is complete.
Numbers that matter
- 20mm horizontal leg width: Provides the surface area required for a secure adhesive bond to the floor substrate before screeding begins.
- 9mm bull nose width with 4mm radius: Forms a safe, smooth top edge that is comfortable to step over at the entry transition.
- 40mm or 50mm heights: Available vertical heights to match standard bathroom screed bed thicknesses.
- 1 metre or 3 metre lengths: Standard extrusion profiles supplied in packs of six, which can be trimmed to exact opening sizes on site using a standard hacksaw.
System integration
Waterstop Doorline is designed to aesthetically match Waterstop Streamline shower profiles. The extrusion is supplied in two finishes, Bright Silver and Matt Black, allowing tile-to-sill consistency across the entire wet area installation.
Frequently asked questions
Can I trim Waterstop Streamline on site?
Yes, straight profiles can be cut to size using a standard drop saw or hacksaw. Always trim the profile before waterproofing commences to ensure proper integration.
Is Waterstop Streamline suitable for both timber and concrete floors?
Yes, it is compatible with both concrete and timber substrates. For timber, membrane the full floor first, then install the Waterstop Streamline, followed by additional membrane inside the shower area.
Does this product replace a traditional shower hob?
Yes, Waterstop Streamline eliminates the need for a traditional brick or timber hob. It acts as both the formwork and the waterproofing barrier for hob-free showers.
Will Waterstop Streamline support a frameless shower screen?
Yes, the lip and bullnose design accepts silicone-bonded frameless, semi-frameless, and framed screens. This provides a secure, watertight base for your shower screen.
What tile thickness does Waterstop Streamline accommodate?
The integrated tile gauge suits tile and adhesive systems with an overall thickness from 6 mm to 10 mm. This ensures a consistent finish with common tile specifications.
Applications and benefits
| Application | Key benefit | Primary trades |
|---|---|---|
| Linear shower construction | Creates a barrier-free entry with integrated waterproofing for AS 3740 compliance. | Builders, Tilers, Waterproofers |
| Modern bathroom renovations | Replaces bulky hobs for a clean, integrated aesthetic that blends with modern tile and tapware. | Renovators, Designers |
| Frameless shower installations | Provides a secure, watertight base for shower screens, ensuring reliable sealing at the screen's lowest point. | Glaziers, Builders |
| Accessible (NDIS) bathrooms | Enables compliant, step-free shower designs, meeting accessibility requirements with a sealed barrier. | Access Specialists, Plumbers |
Applying Waterstop Streamline – Straight: Protocols & Best Practices
General Application Steps:- Prep: Mark position with pencil on floor. Ensure clean surface. Use spirit level to plan alignment.
- Sealant: Run continuous urethane sealant bead between pencil lines. Apply masking tape to Streamline lip before placement.
- Install: Press profile into position, ensuring level contact. Adjust low areas with tiler’s wedges if necessary.
- Membrane: Apply 2 coats of waterproofing inside the shower area, ensuring coverage under bullnose.
- Screeding: Screed up to tile gauge edge. Leave 15 mm clearance from tile top to hob top.
- Tiling & Glazing: Tile flush to both sides. Remove protective tape. Apply silicone between screen and Streamline lip.
Product limitations
- Not for: External use or areas exposed to UV radiation. Performance in these conditions is not rated.
- Installation: Must be installed before screed or membrane application to ensure proper integration and barrier function.
- Structural use: Not intended to bear loads or function as a structural element.
Safety and handling
Personal protective equipment
Wear gloves and eye protection when cutting or handling the aluminium profile.
Ventilation
Ensure a well-ventilated area when applying adhesives or waterproofing membranes.
First aid
- Cuts: Treat and bandage any cuts from handling.
- Eyes: If membrane or sealant enters eyes, rinse immediately and seek medical advice.
Storage and disposal
Keep the protective tape on the profile during all installation stages to prevent surface damage. Dispose of waste according to local regulations.
Substrate guide
Correct substrate preparation is essential for reliable waterproofing and adhesion, ensuring the Waterstop Streamline functions as designed.
Concrete floors
Surface prep: Clean the surface thoroughly. Apply a continuous bead of urethane sealant.
Primer: Not required.
Timber floors
Surface prep: Apply membrane to the entire floor area before installing Waterstop Streamline. Apply urethane sealant between the pencil marks on the profile.
Primer: As per the specific membrane brand's instructions.
Screeds
Surface prep: Allow the screed to fully cure before proceeding. Install Waterstop Streamline before screeding occurs.
Primer: Optional, based on the waterproofing system used.
Membrane substrates
Surface prep: Ensure there is no trapped air beneath the flange after installation. Compatible with both sheet and liquid systems.
Primer: Do not prime the lip area.
Waterstop Streamline Straight Lengths (1 Leg) Physical Properties
| Property | Value |
|---|---|
| Profile Type | Straight (1 Leg) |
| Material | Aluminium, Grade 6463–T5 |
| Wall Thickness | 3 mm |
| Lengths Available | 1000 mm, 1200 mm, 1500 mm, 1800 mm, 2000 mm, 2200 mm, 3000 mm |
| Finish Options | Pearl White (PW), Bright Silver (BS), Brushed Aluminium (BA), Gloss Black (BL), Matt Black (MB) |
| Tile Compatibility | 6 mm to 10 mm tile systems |
| Compliance | AS 3740:2021 |
| Application Area | Internal wet area showers – linear layout |
| Substrates | Concrete, Timber, Screed |
| Membrane Compatibility | Liquid and Sheet membranes |
| Screen Compatibility | Framed, Semi-Frameless, Frameless |
| Warranty | 6 years 6 months (manufacturing faults only) |
| Made In | Australia |


