
Download Product Data
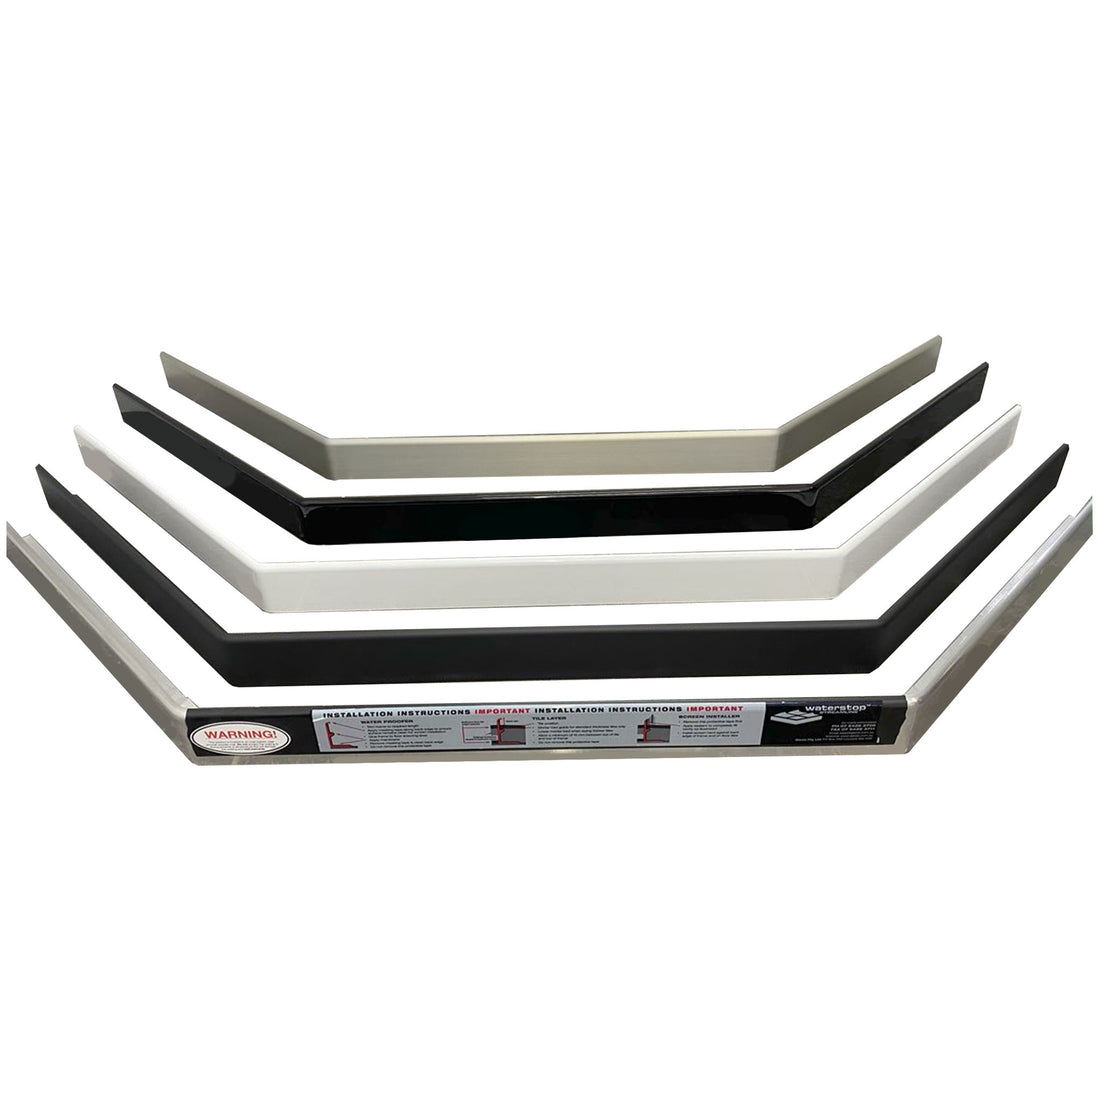
Waterstop Streamline 135° Corner (2/3 Leg) is a specialized waterproofing barrier designed for neo-angle or diamond-shaped shower layouts in residential and commercial wet area construction.
Constructed from architectural-grade 6463–T5 aluminium, this profile features a factory-sealed 135° junction and an integrated 3mm tile gauge to ensure precise screed falls and a continuous, leak-proof barrier without the need for manual on-site mitring or welding.
This system helps direct membrane application behind the bullnose lip for frameless glass integration and maintains full compliance with AS 3740:2021 standards to prevent sub-tile water migration.
Frequently asked questions
What shower layouts require a 135° corner?
Neo-angle or diamond-shaped shower layouts commonly use the 135° corner profile. It forms a critical waterproof junction in designs with angled screen returns, ensuring a clean, compliant finish.
Can the 135° angle be adjusted on site?
No, the 135° angle is fixed precisely at the factory. Do not attempt to bend or adjust it, as this compromises the waterproofing integrity and compliance with AS 3740:2021.
Does this profile help meet waterproofing standards?
Yes, this profile is designed to assist in achieving compliance with AS 3740:2021 for internal wet areas. Its factory-set angle ensures consistent waterproofing performance at critical junctions.
Can this be installed after the screed is laid?
No, this profile must be installed before screeding begins. It acts as a guide for screed height and slope, integrating directly into the waterproof membrane system for a seamless bond.
Applications and benefits
| Application | Key benefit | Primary trades |
|---|---|---|
| Neo-angle shower layouts | Provides a factory-set 135° waterproof junction, simplifying compliance with AS 3740:2021. | Tilers, Waterproofers, Builders |
| Return wall shower designs | Creates a clean, angular barrier that replaces traditional hobs, reducing trip hazards and enhancing aesthetics. | Renovators, Designers |
| Frameless shower screen integration | Allows direct silicone bonding of screens to the waterproofing membrane, creating a secure, watertight seal. | Glaziers, Tilers |
Applying Waterstop Streamline – 135° Corner: Protocols & Best Practices
General Application Steps:- Dry Fit: Position profile to confirm all legs and angle align with your intended layout. Mark pencil lines on substrate.
- Surface Prep: Remove dust and debris. Apply continuous urethane sealant within marked guide area.
- Place Profile: Lower into position gently. Use level to confirm that each leg sits flat. Wedge if necessary.
- Seal Corners: Apply sealant at wall joins and internal gussets. Smooth with spatula to ensure watertight join.
- Waterproof: Apply 2 coats of membrane up behind the bullnose lip. Avoid coating the front edge of the lip.
- Screed and Tile: Screed flush with tile gauge. Tile flush to both sides of each leg. Remove tape last.
Product limitations
- Not for: External use or areas exposed to UV radiation. This profile is designed for internal wet areas only.
- Not for: Adjustable angles. The 135° angle is factory-fixed and must not be altered on site.
- Not for: Post-screed or post-tile installation. The profile must be integrated before screeding and tiling.
Safety and handling
Personal protective equipment
Wear gloves to prevent cuts from edges during handling. Use eye protection if cutting the profile or applying sealants.
Storage and transport
Store the profile flat in its protective packaging to prevent damage. Avoid stressing the factory-fixed angle during site transport.
First aid
- Cuts: Treat minor cuts or abrasions immediately.
- Eyes: If sealants or adhesives contact eyes, rinse thoroughly with water and seek medical advice.
Substrate guide
Proper substrate preparation is critical for ensuring watertight adhesion and the overall integrity of the waterproofing system.
Timber floors
Surface prep: Clean the timber subfloor thoroughly. Mark both the outer and inner lines for all legs of the corner profile. Ensure the corner junction is stable.
Primer: Required. Apply a full membrane layer to the timber subfloor first, then fix the profile and re-membrane the shower area inside the Streamline.
Concrete floors
Surface prep: Clean the concrete slab thoroughly, removing any loose material or contaminants. Mark both the outer and inner lines for all legs of the corner profile. Verify the corner junction is stable.
Primer: Not required. Apply urethane sealant directly to the clean slab between the guide lines for profile adhesion.
Waterstop Streamline 135° Corner (2/3 Leg) Physical Properties
| Property | Value |
|---|---|
| Profile Type | 135° Corner (2/3 Leg) |
| Material | Aluminium, Grade 6463–T5 |
| Wall Thickness | 3 mm |
| Sizes Available | 540 x 650 x 540 mm (3 Leg), 700 x 700 x 700 mm (3 Leg), 900 x 700 x 900 mm (3 Leg), 1000 x 1000 mm (2 Leg), 1200 x 1200 mm (2 Leg) |
| Finish Options | Pearl White (PW), Bright Silver (BS), Brushed Aluminium (BA), Gloss Black (BL), Matt Black (MB) |
| Tile Compatibility | 6 mm to 10 mm systems |
| Compliance | AS 3740:2021 |
| Application Area | Internal angled wall and return-wall showers |
| Substrates | Concrete, Timber, Screed |
| Membrane Compatibility | Liquid, Sheet |
| Screen Compatibility | Framed, Semi-Frameless, Frameless |
| Warranty | 6 years 6 months (manufacturing only) |
| Made In | Australia |


