





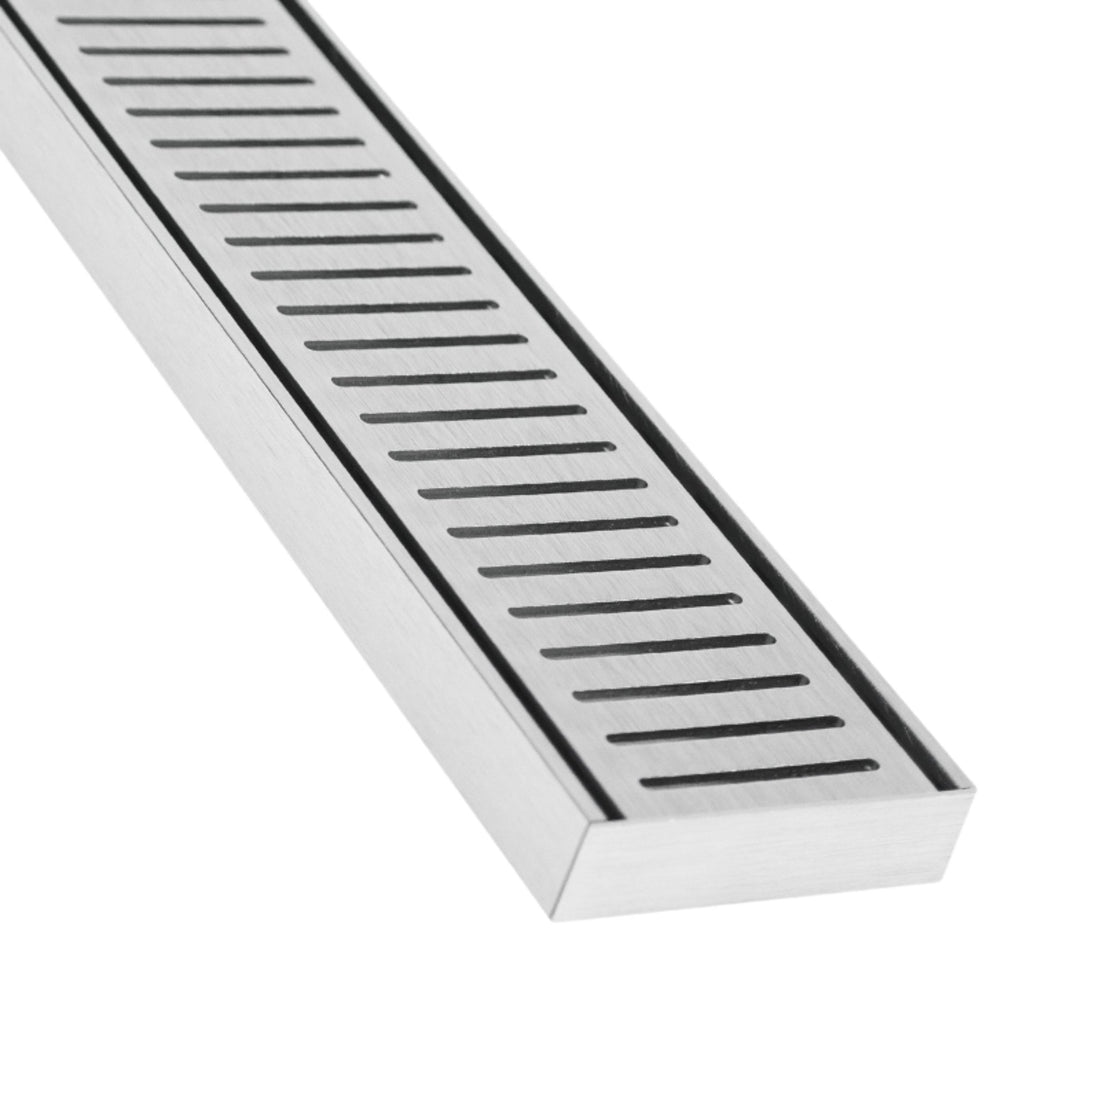


Lauxes Grates NXT 26 – Silver is a 100mm wide, 26mm deep anodised aluminium linear drain, a versatile choice for bathrooms, laundries and balconies with sufficient floor build-up. Its removable roll-out grate makes the channel accessible for cleaning, while the anti-water-tracking profile helps direct runoff into the drain.
The channel can be cut to suit the installation, with the waste outlet positioned to align with the plumbing layout. The Silver finish gives the exposed grate a coordinated architectural appearance without changing the profile's underlying drainage dimensions.
Selecting the right NXT profile
Choose NXT 26 where the finished floor build-up can accommodate the 26mm depth. Select the required selling length and compatible waste outlet from the listed options; confirm floor falls, waterproofing and plumbing requirements with the installer before ordering.
Installation considerations
Use the manufacturer's installation guidance and protect anodised aluminium from wet cement, screed and harsh cleaners. The grate is a drainage component and does not replace the waterproofing system.
Can NXT 26 be cut to length onsite?
Yes. Lauxes states its grates can be cut, joined and adjusted onsite.
What waste outlet sizes suit NXT 26?
40mm, 50mm, 72mm and 80mm.
Does NXT 26 need fall built into the grate?
No. The floor must be graded toward the drain; the grate itself does not require built-in fall.
What is the load rating?
Lauxes rates NXT 26 as Class B with a stated maximum load of 10.2 tons.
Lauxes Grates NXT 26 Linear Drain Kit – Silver Physical Properties
| Property | Value |
|---|---|
| Product Name | Lauxes Grates NXT 26 – Silver |
| Manufacturer Full Lengths | 3000mm, 5600mm |
| Adheseal Sell Lengths | 1000mm, 3000mm, 5600mm |
| Profile Width | 100mm |
| Profile Depth | 26mm |
| Material | Anodised Aluminium |
| Colour | Silver |
| Applications | Indoor, Outdoor |
| Outlet Sizes | 40mm, 50mm, 72mm, 80mm |
| Cutting Capability | Can be cut on site to suit the installation |
| Waste Outlet Positioning | Waste outlet can be positioned to suit the plumbing layout |
| Cleaning Access | Easy roll-out grate |