
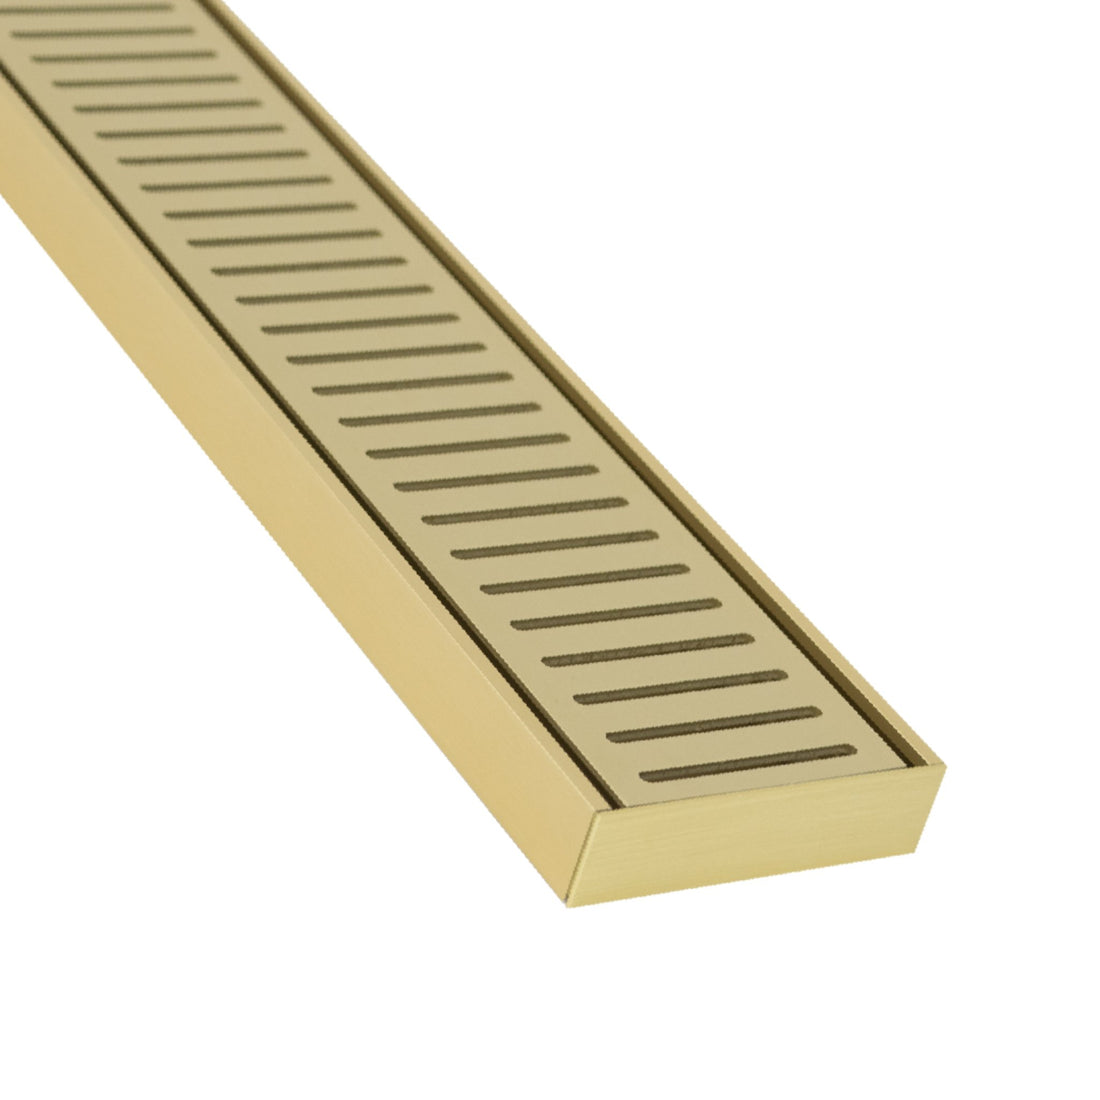
Lauxes Grates Gold NeXT Generation 26 NXT26 Linear Drain Kit is a high-performance linear drainage system engineered for critical waterproofing environments including indoor bathrooms, coastal balconies, and outdoor pool surrounds. Constructed from anodised aluminium with a 26mm low-profile depth, this kit ensures a flush floor transition while providing lifetime protection against rust and tea-staining in salt-air zones.
The system incorporates integrated anti-tracking technology to prevent capillary water migration beneath tiles and features a tool-free roll-out grate design for rapid maintenance access.
Frequently asked questions
Can the NXT26 linear drain be used outdoors?
Yes, the NXT26 is fully UV stable and rustproof. Its anodised aluminium construction makes it suitable for balconies, alfresco areas, and pool surrounds without fear of degradation or rust.
How do I clean the NXT26 grate?
The grate features an easy roll-out design for direct access to the internal drainage channel. Simply roll it up, then clean the channel and grate with a soft brush and hose.
Is the NXT26 linear drain suitable for coastal environments?
Yes, it is designed for coastal areas. Manufactured from anodised aluminium, it carries a Lifetime Rustproof Warranty, making it highly resistant to salt air corrosion.
What is the minimum depth required for installation?
The NXT26 requires a minimum installation depth of 26mm. This makes it unsuitable for designs that require ultra-slimline floor profiles.
Applications and benefits
| Application | Key benefit | Primary trades |
|---|---|---|
| Indoor linear shower drains | Ensures permanent leak prevention and anti-tracking for sub-tile water, supported by a Lifetime Rustproof Warranty. | Tilers, Waterproofers, Builders |
| Outdoor patios and pool surrounds | Withstands harsh Australian weather with UV stable anodised aluminium and a 25-Year Fade Warranty. | Landscapers, Builders, Waterproofers |
| Balcony drainage | Offers durable, rust-free drainage in exposed conditions, preventing water ingress and aesthetic degradation. | Waterproofers, Builders, Tilers |
| Commercial bathrooms and wet zones | Provides a long-lasting, easily maintainable solution with customisable length and waste outlet placement. | Plumbers, Builders, Tilers |
How to apply Gold NeXT Generation 26 (NXT26):
- Measure and cut the grate to length using a drop saw. Deburr edges for safety and aesthetics.
- Set the tray in place over waterproofed substrate. Ensure even support along the length.
- Position waste outlet anywhere along the tray and connect to compatible drainage.
- Install grate cover by rolling in place. Adjust finish height to align with tile or floor level.
- Clean with soft cloth after installation to remove residue or debris.
Product limitations
- Not for: Designs requiring an installation depth less than 26mm due to the minimum grate depth.
- Installation: May require additional tray packing to achieve a level finish on uneven screeds. Always verify levelness before final installation.
Safety and handling
Personal protective equipment
Wear protective gloves and safety glasses when cutting the anodised aluminium to prevent injury from sharp edges or debris.
Ventilation
Product itself does not require specific ventilation. However, ensure adequate ventilation if using adhesives or sealants during installation as per their safety data sheets.
First aid
- Eye contact: Rinse eyes immediately with plenty of water if debris enters during cutting. Seek medical attention if irritation persists.
- Cuts/Lacerations: Clean wound and apply pressure. Seek medical attention for deep or persistent bleeding cuts.
Storage and disposal
Store product in its original packaging in a dry place to protect the finish. Dispose of aluminium off-cuts and packaging materials according to local council regulations for metal and general waste.
Substrate guide
Proper substrate preparation is critical for secure drainage installation and long-term performance.
Concrete
Surface prep: Ensure the concrete surface is clean, free of loose material, and appropriately sloped. Recess the tray for flush installation.
Primer: Not typically required for direct installation, but consult waterproofing membrane specifications if applicable.
Tile
Surface prep: Install the drain kit into the screed or bedding material. Ensure a level and flush finish with the surrounding tiles.
Primer: Not applicable to the drain itself; follow primer requirements for tiling and waterproofing systems.
Timber
Surface prep: Ensure the timber substrate is stable and treated for moisture. Install with a robust waterproofing underlay system.
Primer: Not applicable to the drain itself; follow primer requirements for waterproofing and timber protection systems.
Pavers
Surface prep: Create a stable, compacted base for outdoor or landscaping applications. Ensure appropriate fall towards the drain.
Primer: Not applicable. Ensure the drain is seated correctly within the paver system.
Waterproofing Membranes
Surface prep: Integrate the drain system with bonded waterproofing membranes. Ensure clean, dry, and compatible surfaces for membrane adhesion around the drain.
Primer: Follow the specific primer recommendations of the waterproofing membrane manufacturer for optimal adhesion to the drain's tray.
