
Download Product Data
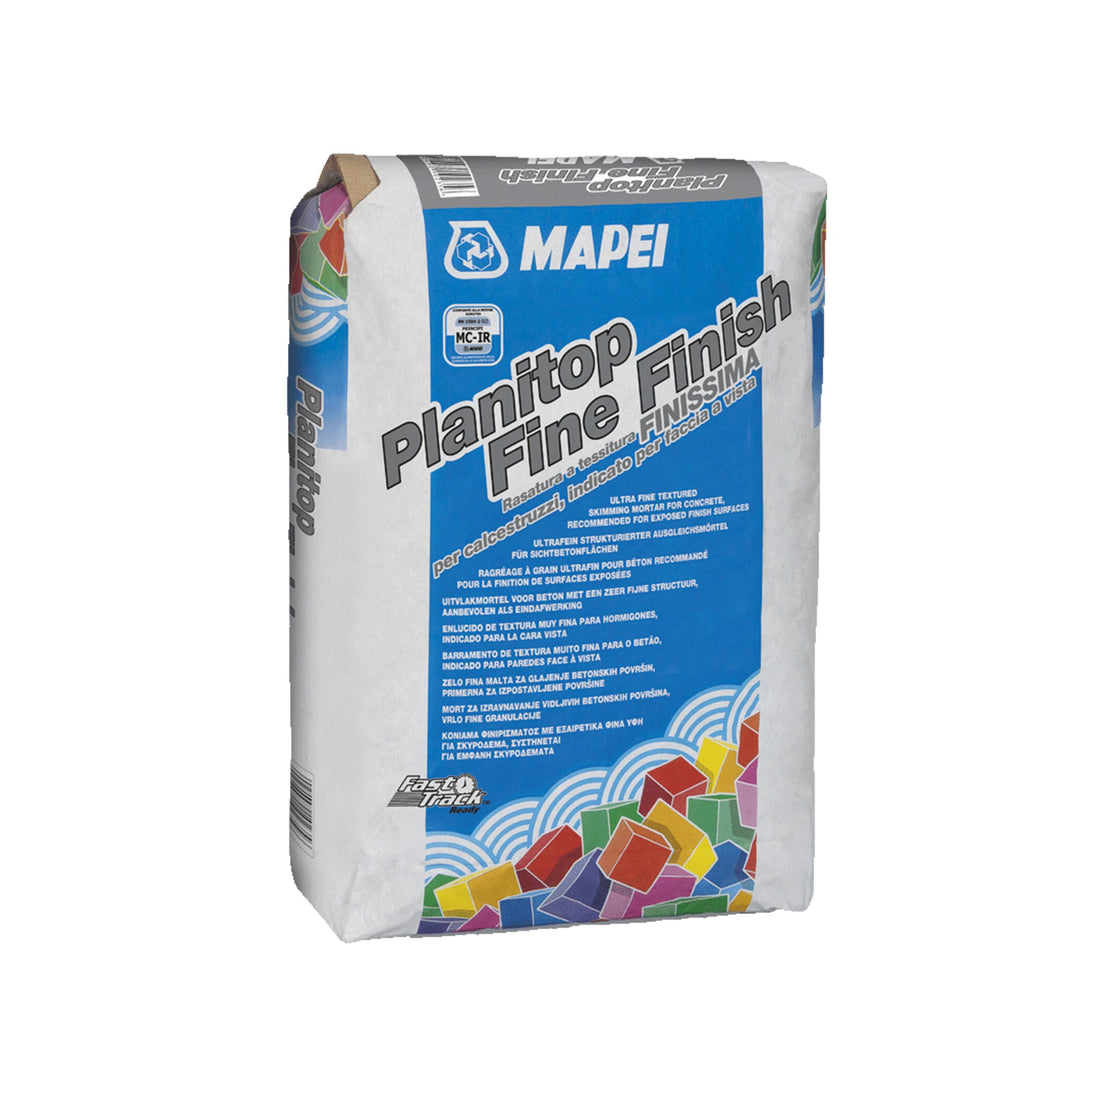
For smoothing porous or uneven concrete structures, Planitop Fine Finish Mortar provides a rapid-hardening, ultra-fine finish before painting or sealing. It is formulated to level surface defects in cast concrete, such as gravel clusters and second pours, as well as skimming precast elements including buffer panels, beams, and pillars.
What it does
Planitop Fine Finish Mortar forms a thixotropic, trowellable paste that can be skimmed down to a feather edge without a bonding promoter, or applied in layers up to 3 mm thick. Its 0.2 mm maximum aggregate size creates an ultra-fine texture that makes finishing with a damp sponge float or spreader easier. The cured mortar functions as a concrete surface protection system conforming to EN 1504-2 coating (C) standards under principles MC and IR.
Numbers that matter
- 0 to 3 mm thickness: Allows feather-edge skimming to level superficial defects up to a maximum 3 mm application depth.
- 8.0 to 8.4 litres of water: The exact mixing ratio per 20 kg bag (40% to 42% water by weight) required to achieve a stable, thixotropic consistency.
- 45-minute pot life: The working window at +23°C and 50% relative humidity before the mixed mortar begins to set.
- 12 MPa compressive strength: Reaches 5 MPa after 1 day, 8 MPa after 7 days, and 12 MPa at 28 days for durable surface integration.
- 7-day paint window: Minimum waiting time required before coating the finished surface with Elastocolor or Colorite paint lines.
- 1.2 kg/m² consumption: Coverage rate per millimetre of thickness, allowing precise job estimation.
Where to use it
- Cast concrete: Levelling gravel clusters, tie-rod holes, and cold joints.
- Precast concrete: Skimming beams, pillars, and buffer panels to achieve a uniform finish.
- Concrete walls: Smoothing and filling imperfections on internal and external walls before applying paint or protective coatings.
Limitations
- Do not mix with more than the recommended amount of water and never add more water once setting has started.
- Do not apply if the temperature is lower than +5°C.
- Do not add lime, cement, or gypsum to the mix.
- Do not use on surfaces exposed to direct sunlight or strong winds.
- Do not apply on substrates with rising damp or free-standing surface water.
- Use Mapefinish or Mapefinish HD instead for hydraulic structures or surfaces subjected to abrasion.
How to apply
Prepare the concrete substrate by removing all loose material with power tools, wash thoroughly with water to remove dust, and wait until excess water evaporates. The substrate must be saturated but have a dry surface (saturated surface dry, or s.s.d. condition). Mix by pouring 8.0 to 8.4 litres of clean water into a container and slowly adding the 20 kg bag while mixing with a low-speed mechanical mixer to prevent air entrained in the mix. Spread the mortar up to 3 mm thick with a rubber or smooth metal spreader, and finish with a damp sponge float a few minutes after application. In hot, dry, or windy conditions, spray water on the touch-dry surface and repeat over the following days to prevent quick drying and plastic shrinkage cracks.
Frequently asked questions
How thick can Planitop Fine Finish be applied?
This mortar can be applied in layers up to 3 mm thick. It also feathers down to a fine edge, allowing seamless blending without creating ridges on the surface.
When can I paint over Planitop Fine Finish?
Planitop Fine Finish is ready for painting with Mapei Elastocolor or Colorite lines after approximately 7 days. This allows for a timely handover for subsequent finishing trades.
What is the correct mixing method for this product?
Use a low-speed mechanical mixer to achieve a lump-free, homogenous mix. Hand mixing is not recommended as it can lead to inconsistent results and introduce too much air.
Is a primer always required for concrete substrates?
No, a primer is generally not required for correctly prepared concrete. If the surface remains powdery after cleaning, consult Mapei Technical Services for a suitable consolidating primer.
Applications and benefits
| Application | Key benefit | Primary trades |
|---|---|---|
| Smoothing concrete walls before painting | Creates a uniform, ultra-fine surface, ensuring paint finishes do not show surface imperfections. | Painters, General Builders |
| Levelling surface defects in cast concrete | Fills imperfections like gravel clusters or pour lines for a monolithic appearance. | Remedial Contractors, Concreters |
| Skimming precast concrete elements | Provides a high-quality, durable finish on panels, beams, and pillars, ready for installation or painting. | Precast Manufacturers, Remedial Specialists |
Applying Planitop Fine Finish: Protocols & Best Practices
-
Step 1: Substrate Preparation
A successful finish starts with proper prep. Your concrete surface must be solid, clean, and correctly saturated to ensure maximum adhesion.
Cleaning and Soundness Check
Mechanically remove any loose or detached areas, laitance, or previous coatings. Wash the surface with clean water to remove all traces of dust.
Achieving SSD Condition
Saturate the concrete with water, then wait for all free-standing water to evaporate. The surface should appear damp with no glistening water. Use compressed air or a sponge to remove any puddles if necessary.
Pro Tip: Never apply Planitop Fine Finish to a bone-dry, highly porous surface or a surface with standing water. Both extremes will compromise the bond and final finish. Getting the SSD condition right is non-negotiable. -
Step 2: Mortar Mixing
Correct mixing is critical to activate the polymers and achieve the mortar's intended workability and strength.
Mixing Ratio
Pour 8.0-8.4 litres of clean water into a suitable container and slowly add one 20 kg bag of Planitop Fine Finish while mixing.
Mechanical Mixing
Use a low-speed mechanical mixer to blend the mortar for several minutes. Scrape the sides and bottom of the container to ensure all powder is incorporated. Continue mixing until the mortar is completely homogenous and lump-free.
Pot Life: You have approximately 45 minutes of working time at 23°C. Do not add more water to the mix once it has started to set. -
Step 3: Application & Curing
Apply a smooth, consistent layer and manage the curing process to ensure a crack-free, durable finish.
Application
Using a smooth metal or rubber spreader, apply a layer of mortar up to 3 mm thick onto the prepared surface. Work the material into any defects to ensure they are completely filled.
Finishing
A few minutes after application, finish the surface with the same spreader or a damp sponge float to achieve the desired smoothness.
Pro Tip: During hot or windy weather, mist the surface with water as soon as it is touch-dry. Continue to do this for the next few days to assist with proper hydration and prevent rapid drying, which can cause shrinkage cracks.
Product limitations
- Not for: Application if the temperature is below +5°C or expected to fall below +5°C during curing.
- Not for: Surfaces exposed to strong winds or direct sunlight without protective measures.
- Not for: Mixing with lime, cement, gypsum, or other additives; this will alter product performance.
- Not for: Hydraulic structures or surfaces subject to high abrasion; use Mapefinish or Mapefinish HD for these applications.
- Not for: Substrates with rising damp or negative hydrostatic pressure.
Safety and handling
Personal protective equipment
This product contains cement and can cause skin and eye irritation. Always wear protective gloves and close-fitting safety goggles during mixing and application. Use appropriate respiratory protection (refer to AS/NZS 1715-1716) to avoid breathing dust.
Ventilation
Use only outdoors or in a well-ventilated area to avoid respiratory irritation from dust. If working in enclosed spaces, ensure adequate mechanical ventilation.
First aid
- Eyes: Causes serious eye damage. Rinse cautiously with water for several minutes. Remove contact lenses if present and easy to do. Continue rinsing and seek immediate medical attention.
- Skin: Causes skin irritation and may cause an allergic reaction. Take off contaminated clothing. Wash affected area with plenty of soap and water. If irritation or rash occurs, get medical advice.
- Inhaled: May cause respiratory irritation. Remove person to fresh air and keep comfortable for breathing. Call a POISON CENTRE (13 11 26) or doctor if feeling unwell.
- Swallowed: Do not induce vomiting. Get medical attention immediately, showing the SDS and the hazard label.
Storage and disposal
Store in original packaging in a dry place. The product has a shelf life of 12 months under these conditions.
Substrate guide
Proper substrate preparation is critical for adhesion and long-term performance. Follow these guidelines to avoid failure.
Porous and uneven concrete
Surface prep: Surfaces must be structurally sound, clean, and free of all loose material, dust, and contaminants. Power wash or use other mechanical means to prepare the surface. The concrete must be brought to a saturated surface dry (SSD) condition; thoroughly wet the concrete, then wait for all surface water to evaporate before application.
Primer: Not required. Planitop Fine Finish is formulated to bond directly to correctly prepared concrete. If the substrate remains powdery after cleaning, a consolidating primer may be necessary. Contact Mapei Technical Services for selection.
Planitop Fine Finish Mortar Physical Properties
| Property | Value |
|---|---|
| Colour | Light grey |
| Density | 1600 kg/m³ |
| Consistency | Fine powder |
| pH Value | Approx. 12 |
| Compressive Strength | 12 MPa |
| Flexural Strength | 3.5 MPa |
| Bond Strength | 2.1 MPa |
| Pot Life | Approx. 45 minutes |
| Initial Cure | Start: approx. 50 minutes, Finish: approx. 70 minutes |
| Application Temperature | +5°C to +35°C |
| Water Vapour Transmission | Class I (permeable to water vapour) |
| Mix Ratio | 8.0-8.4 litres of water per 20 kg bag |
| Coverage Rate | Approx. 1.2 kg/m² per mm of thickness |
| Bed Thickness | Up to 3 mm |
| Maximum Gap Fill | 0.2 mm |
| Paintability | 7 days |
| Packaging | 20 kg bags |
| Storage Conditions | 12 months in original packaging in a dry place |
