For wet area tiling, structural joints, and commercial projects where building movement splits liquid membranes, Elastoproof B10 / B50 provides a high-elasticity physical barrier. This approved bondbreaker system conforms to AS 3740, protecting critical wall and floor junctions without the need for sealant backing or bond-breaking tapes.
How it works
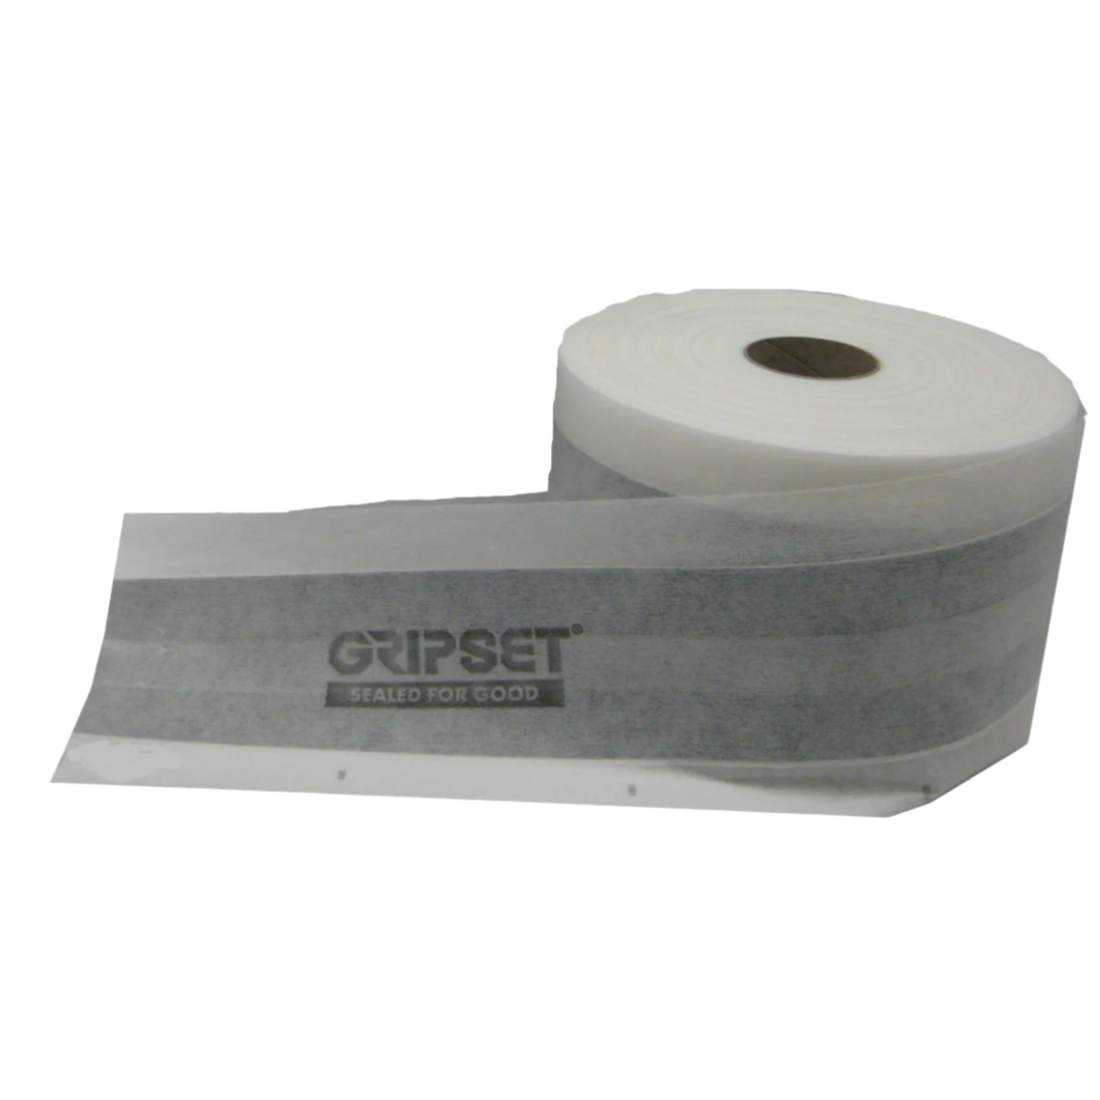
The system consists of an acrylonitrile butadiene rubber (NBR) band with a 20mm central stretch zone, flanked by a polyester fleece carrier edging. When embedded into a wet liquid membrane, the fleece edges bond to the substrate while the central rubber span remains unbonded. This creates a defined slip zone over control joints, substrate abutments, and expansion joints. By preventing the liquid membrane from bonding directly to the moving joint, the band redistributes localized stress across its 70mm rubber width, accommodating multi-directional movement with up to 100% elastic recovery without tearing.
Numbers that matter
-
Up to 100% elastic recovery: Absorbs repeating lateral, longitudinal, and transverse building movement at wall/floor junctions without permanent deformation.
-
3 bar water pressure resistance: Seals reliably under hydrostatic load, making it suitable for water storage and areas subject to full immersion.
-
20mm maximum starting joint width: Accommodates joint movement up to 50% of this starting width, preventing rupture over active structural gaps.
-
-20°C to 90°C temperature resistance: Maintains physical properties behind tiles in extreme service environments, from exterior freeze-thaw cycles to hot commercial drainage.
-
0.6mm to 0.8mm thickness: Low-profile build that minimizes thick build-ups under floor tiles and wall linings, simplifying subsequent screeding or tiling.
Where to use it
This joint band is suitable for residential, commercial, and industrial waterproofing applications. Use it at:
- Wall/floor junctions
- Substrate abutments
- Control joints
- Movement and expansion joints
It is compatible with Gripset Class I, Class II, and Class III waterproofing membranes.
Limitations
- Not compatible with solvent-based materials, including solvent-based adhesives, sealants, or coatings.
- Do not use as a UV-exposed joint seal in external applications; must be overcoated or tiled.
- Do not apply when the surface temperature is below 5°C or above 30°C.
Installation
Measure and cut the Elastoproof B10 / B50 Joint Band to suit the joint layout. Apply a first coat of compatible Gripset liquid membrane approximately 150mm wide, extending up the wall and onto the floor. Embed the band into the wet membrane bed, ensuring the fleece carrier edges are fully wet out and no air bubbles are trapped behind the fabric. The rear central rubber section must remain unbonded to the substrate. Overlap adjoining lengths by a minimum of 50mm. Use Elastoproof Prefabricated Corners at 90° internal and 270° external junctions. If prefabricated corners are not used, cut and fold the bottom leg of the band, ensuring the fabric is completely bonded with the liquid membrane.