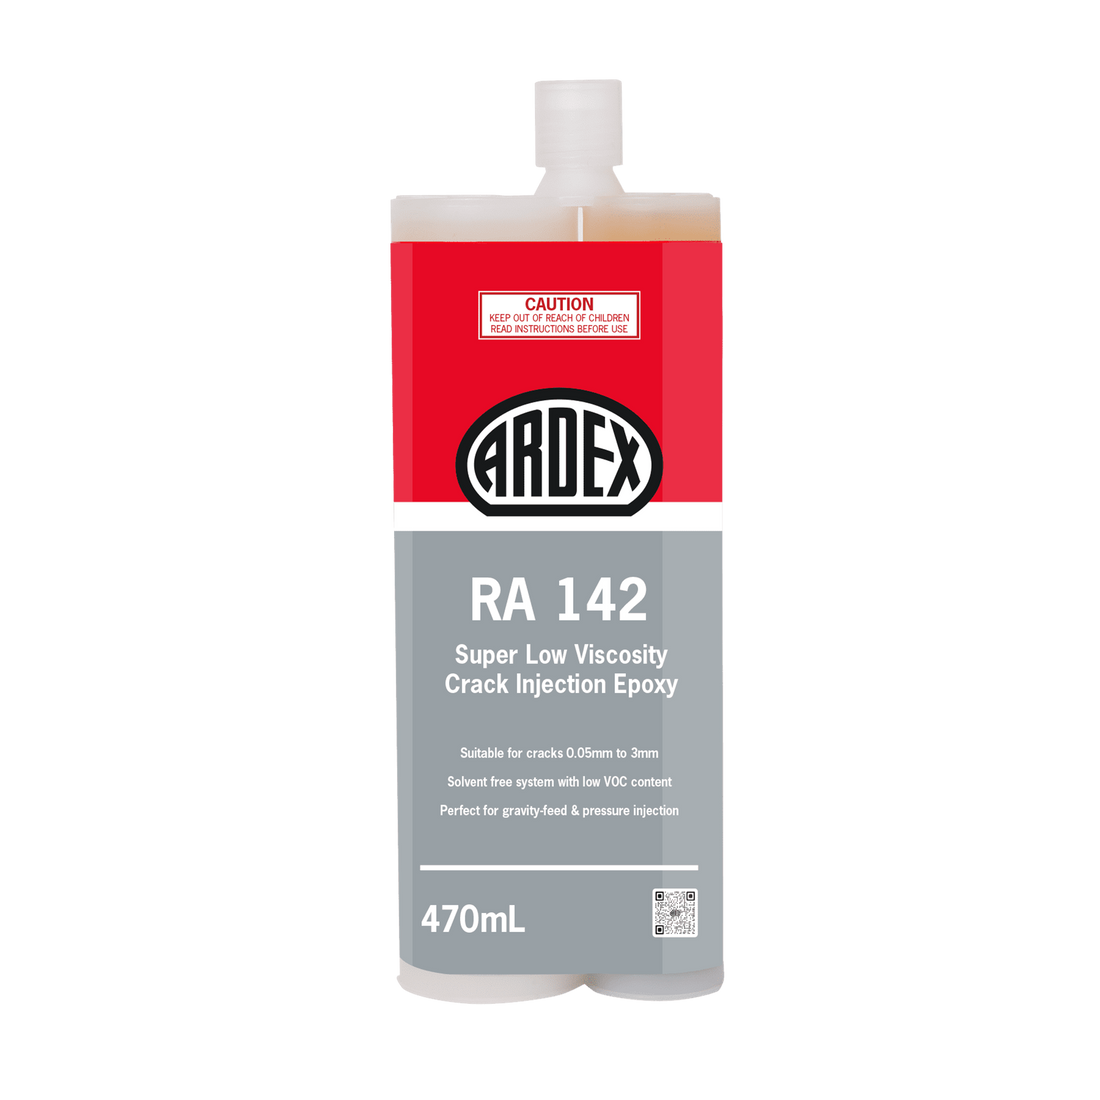
For pressure injection and gravity feed structural crack repair in horizontal concrete and masonry, ARDEX RA 142 seals and bonds hairline to fine cracks from 0.05mm to 3mm. This two-component, 100% solids epoxy adhesive has a super low viscosity that penetrates deep into fine fractures to restore structural integrity to interior and exterior slabs, walls, and timber members.
What it does
ARDEX RA 142 functions as a high-strength structural binder and adhesive. Its super low viscosity of 190 cps allows it to flow freely into narrow fissures where thicker epoxies cannot penetrate. When mixed with kiln-dried sand or aggregate, it serves as a high-strength epoxy resin mortar for concrete spall repairs and interior surface overlays. The solvent-free formulation cures to a highly rigid polymer, achieving a compressive strength of 70 MPa and a tensile strength of 50 MPa to reinstate load path continuity across sheared or fractured structural sections.
Numbers that matter
-
0.05mm to 3mm crack width: The target application window for horizontal and vertical concrete crack injection; for wider cracks, use ARDEX RA 144.
-
190 cps mixed viscosity: A highly fluid, very thin liquid consistency that ensures deep penetration into tight hairline fractures.
-
70 MPa compressive strength (7 days): Delivers structural loading capacity well exceeding standard concrete strengths.
-
20-minute gel time (+24°C): The working window to dispense and inject the material before the chemical reaction begins to thicken the epoxy.
-
24-hour full cure: The required setting window before injection ports, tubing, and capping paste can be chipped or ground off the substrate.
Where to use it
This structural epoxy is suitable for repairing dormant cracks in several configurations:
-
Horizontal concrete slabs: Gravity-fed directly into prepared, grooved cracks or used for shear fracture repairs in both interior and exterior slabs.
-
Vertical concrete and masonry walls: Pressure-injected through fixed ports in conjunction with a surface capping paste such as ARDEX RA 88.
-
Spall repairs and patches: Mixed at a 2:1 ratio by volume with 4 to 5 parts of kiln-dried sand to form a pourable, trowelable repair mortar.
-
Concrete bonding: Applied by brush or roller to bond fresh concrete to hardened concrete, or to bond hardened concrete sections together.
-
Timber members: Structural crack injection repairs for dormant cracks in wood structures.
Limitations
- Do not use to repair active cracks subject to ongoing movement; the cause of the cracking must be resolved prior to application.
- Do not use to stop seeping or flowing water; the crack must be dry at the time of injection for proper bonding.
- Do not thin with solvents, as this will prevent the epoxy from curing.
- New concrete substrates must be a minimum of 28 days old before application.
- Do not use for basement walls where the back side of the concrete is inaccessible and runoff cannot be monitored; use the higher viscosity, thixotropic ARDEX RA 146 gel instead.
How to apply
For gravity-feed crack repairs, cut a groove 3mm wide and at least 1mm deep along the crack using an abrasive or diamond blade. Wire brush the groove and blow out all dust, dirt, grease, and contaminants prior to pouring or injecting the epoxy.
For spall repairs, cut a clean vertical edge around the spall perimeter to a minimum depth of 20mm to prevent feathered edges. Chip out loose material, clean the cavity, and mix Part A and Part B at a 2:1 ratio by volume before mixing in aggregate. Apply at a maximum mortar thickness of 35mm per coat.
For vertical cracks, clean the surface, secure injection ports at 15cm to 30cm intervals using ARDEX RA 88 capping paste, and seal the entire crack face. Inject ARDEX RA 142 from the lowest port upward until material flows from the adjacent port. Keep the final port under pressure for 30 seconds to ensure complete filling.
Cartridge setup and dispensing
Keep the dual cartridge upright during preparation to prevent leakage. Shake the cartridge for 1 minute, then stand it upright for 1 minute to allow air bubbles to rise. Load it into the dispenser and point it upward at a 45-degree angle. Remove the cap and plug, then dispense material into a waste container until both parts flow evenly. Insert the flow control port and nozzle, point upward at 45 degrees, and dispense 1 to 2 trigger pulls to prime the nozzle. If using a pneumatic dispenser, use an air pressure regulator limited to a maximum of 275 kPa (40 psi) to prevent plunger leakage.